The first thing I did was to cut a base out of very thin card. Here is a picture of the base for my first hill.

Then in the middle of the base, I glued a large piece of styrofoam to form the bulk of the hill.
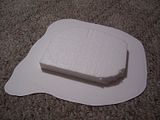
I found this to cause a bit too steep and uneven of an incline. For future hills, I built up the bulk using many layers of thick cardboard. Each layer was cut in a similar shape as the one before, but about a half inch to an inch smaller all around. This seemed to work better, but made the hills much less steep.
With the large piece of styrofoam in place, I built up the sides and top with newspaper and coardboard to make the hill more rounded.
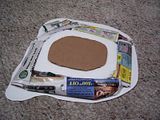
For the hills after this, I taped or glued strips of wax paper to the stepped cardboard layers to round out the hill shapes. This gave a much more rounded hill. Don't try using newspaper like I did. After you put the wet plaster cloth on the hill, the paper gets wet and collapses. This resulted in a lumpy rather than smooth curvature to the hill.
So once that was done, I applied the plaster cloth. I used Woodland Scenics Plaster Cloth
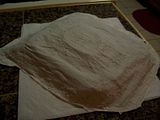
Another thing to watch for is that while the plaster was drying, it tended to make the thin cardboard base I was using warp a little. So I made sure to put some heavy things all around the perimeter of the hill to hold the base down while it dried and keep it flat. If you can find something more sturdy or waterproof to use for the base that is thin and you can still cut it out in rounded shapes, that would probably work much better. I, however, do not know of anything that fits that description.
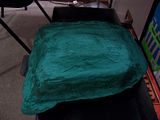
Once the plaster cloth was completely dry, I spray painted the entire hill green.
I then glued several rocks around the hill, using them to cover up or distract from places where the shape of the hill looked unnatural. You can see how I created the rocks here. Below are some pictures of the hill with rocks attached.
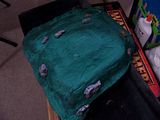
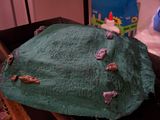
The next step was flocking the hill. I used some watered down Elmers/PVA glue, which I brushed all over the hill before sprinkling Woodland Scenics Green Turf
Below are some pictures of the first attempt at flocking the hill. I also sprinkled some ballast on before flocking, (I used Woodland Scenics Medium Ballast
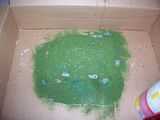
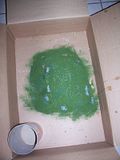
After a few touch-ups on the flock job, I added some dark green clump folliage all around the hill to look like bushes. Again, I used the Woodland Scenics Medium Green Clump Foliage
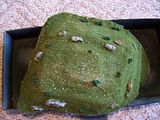
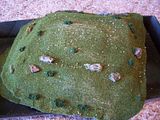
At this point, I sprayed some matte varnish over the entire hill to hopefully keep the flock, ballast, and clump foliage from coming off over time. And that's all there is to it: one custom made hill. Hopefully this has given you some ideas or inspiration, and you can learn from some of my mistakes. And if you make some of your own, definitely let me know what other things you learn and tips you have for others to benefit from.
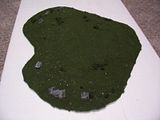
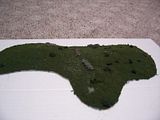
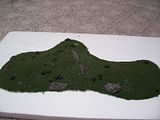
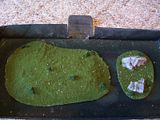
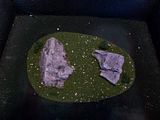
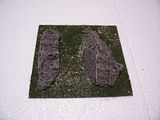
Finally, here are some pictures of the other hills I created in a similar fashion, and a couple of rocky terrain pieces I also made.
Just letting you know that this post has been included in this week's round up of best miniature related blogging: Lead Bucket
ReplyDeleteThis sounds like a pretty good method, so long as you can overcome the warping. Where do you get plaster cloth?
ReplyDeleteChris
I believe I got the plaster cloth at Hobby Lobby. If you go to the online shop section of the Hobby Lobby website and search for "Plaster Cloth Roll", you should find what I used. It costs around $10 there. It is made by Woodland Scenics, so any hobby store that sells other Woodland Scenics stuff would be a good bet if you don't have a Hobby Lobby nearby. You can also find it on amazon.com: Plaster Cloth
ReplyDelete