First off, you'll noticed that I already had my Rippers glued to their bases when painting them. I wouldn't recommend this. It would be easier to glue them spaced apart on some Popsicle sticks to paint them, and base them when you are done painting. Basing them first made some of the highlights hard to paint when trying to get a brush in between two of them.
First thing I did was to use spray primer to prime them white. I used a thin coat, and they looked a little grayish rather than bright white. I then dry brushed them with Skull White. I painted all the carapace and claw areas Chaos Black, as well as the mouth. The tongues I painted Elf Flesh.


I then washed the flesh areas with watered down Magenta Ink. I didn't think this would show up if I got it on the Chaos Black areas, but it actually did. So I had to go back after it dried and re-paint over some of the recesses in the carapace parts. So it might be better to do the ink wash before painting the Chaos Black parts. Also, I ink washed the tongues as well, but didn't like how this turned out, so I re-painted them in Elf Flesh. Again, might have been better to paint the tongues after the wash.


Next, I highlighted the carapace and claws with Shadow Grey. I just did a simple outline on the raised areas. Even so, this part of the process takes the longest by far.


I painted the teeth and eyes in a sandy, yellowish color that has no label on the paint pot. Desert Yellow or Iyanden Darksun would probably work fine. I made sure to leave some black in the recesses between the teeth. I painted the bases and the little grassy part on the rippers in Goblin Green. In retrospect, I think Goblin Green is too light to match well with the game board I'm using now, which has green felt of a darker shade. So I'll have to find something that matches a little better to use in the future.

Finally, I put some green ink on the grass parts to give them some texture and highlighted the teeth and eyes with Skull White. I also did my best to paint a tiny slit of an eyeball in Chaos Black, to make their eyes look somewhat snake-like. That was pretty difficult, and I had mixed results. But I think it looks better than no eyeball.


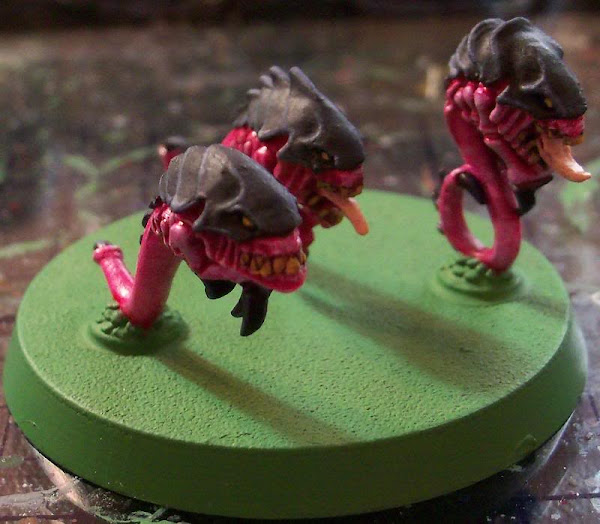
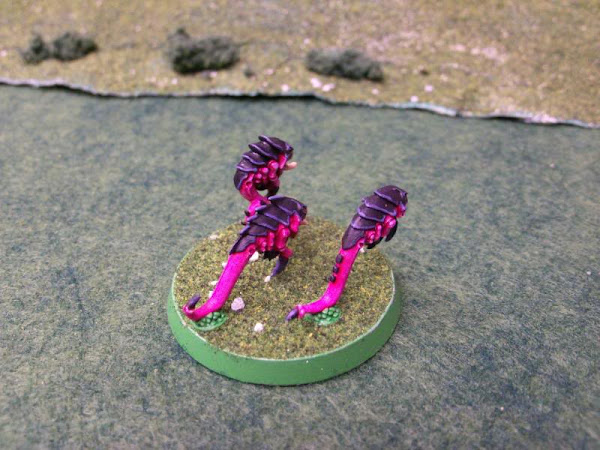
Then all that was left was to flock the bases. I like to put a little small ballast on the base along with the green flock to give it a little variety without drawing too much attention to the base. Here are some pictures of a completed Ripper base.


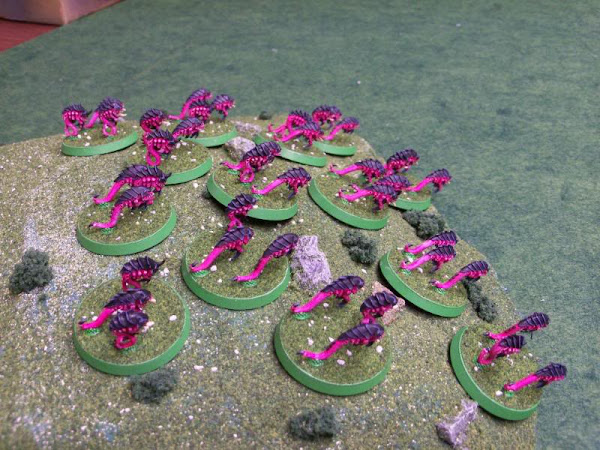
And here are all of the completed Rippers, ready to devour the victims of the Hive Fleet.


No comments:
Post a Comment