I saw this pre-painted MDF building kit from 4Ground on sale, and decided to take the opportunity to give MDF terrain a try. This was my first MDF terrain kit, and I was interested to see how easy it would be to assemble, and what level of detail was possible. Read on for more pictures, assembly tips, and my review of the kit.
Here you can see the back of the package the building came in. Inside are laser cut sheets of MDF in a couple of different thicknesses and a few different colors. There is also an instruction sheet. This kit has a skill rating of 4, but there's no explanation of what that means.
Here is the kit unpacked from the bag. The instructions aren't the best. They are just a series of images of what things should look like (from a single angle) at each step. So you'll want to look them over and make sure you understand each step before you get started. The kit is NOT designed to prevent you from putting pieces together wrong. I ended up with the walls in the wrong positions and only discovered this at a later step when some other pieces could not be attached correctly. There is also no indication of what to glue and what to leave unglued.
There were a lot of parts to assemble, some of them very small. Make sure you have something on hand to clean up the glue that will invariably get on your hands, and everywhere else. The small pieces allow for some interesting detail to be created out of the flat pieces of MDF.
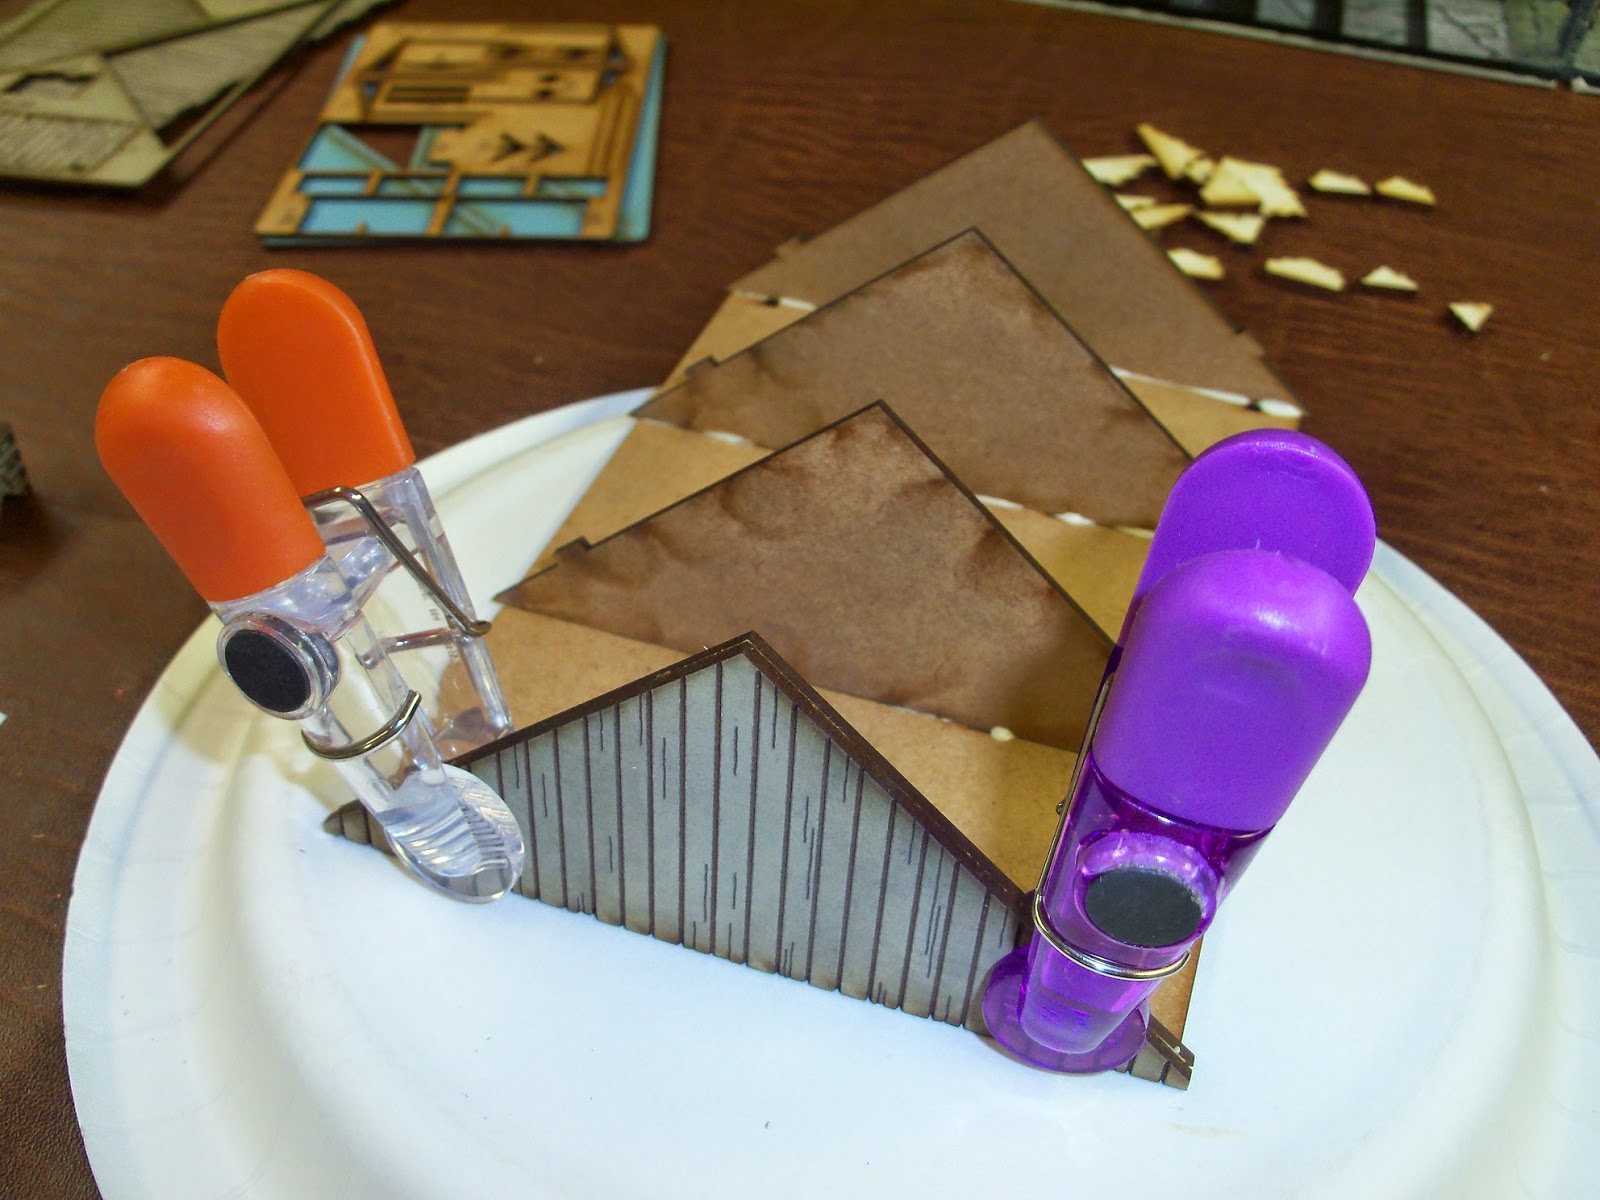
You will need to have some clothespins or claps of some kind, since they are necessary for gluing some of the flat pieces to each other to keep them in place while they dry. Also, don't get rid of anything until you are done. Some of the pices of the walls that you see removed in this picture needed to be added back on later.
This particular kit took me 2.5 hours of hands on time, plus some waiting time while things dried. I would recommend trying to do as much of it as possible in as few sittings. If you make a mistake, it is much easier to fix while the glue is still drying. Also there are some pieces that are very hard to fit in without moving an adjacent piece slightly, which is no problem if the glue on that adjacent piece hasn't set yet.
Below are some pictures of my finished building, with a Chaos Space Marine, a Victrix Napoleonic miniature, and a Games Workshop skeleton for scale. The building seems smaller in person that I was expecting for the price. And I don't imagine those shutters will last very long.
My feelings on this building are mixed. It takes much longer to assemble than a resin building presumably would, and probably significantly longer than a similar plastic building, depending on the mold lines. It also has some significant limitations being constructed of all flat surfaces made of straight lines. However, it is very functional, with a removable roof, working door, and interior details. I also don't know of a similar looking building being offered in plastic, so MDF appears to have some things available that might be hard to find otherwise.
Also, after assembly, you'd still have to paint a resin or plastic building. This one looks decent out of the box. Some people would probably want to re-paint or at least touch up this building, so that might eliminate the time savings and limit its usefulness. But if you are okay with how it looks out of the box, it is a quick way of getting terrain on the table. So the utility of something like this may depend on how fast you can paint a similar resin building, and how much better the end result would look.
For the price I paid and the amount of time I put into it, I'm pretty happy with the end result, as this was a quick and easy way to add something useful to my terrain collection. At the full price, I'm not sure I'd be willing to buy more unless I found something that I really needed that I couldn't find in plastic.


Thanks for the review. I have my eye on this particular model.
ReplyDeleteI do agree that you really need to follow the instructions carefully and dry fit every piece. I built their ruined building and I wished that I had used the rubber band as suggested by the instructions. In the end, my building turned out OK but I would have had better corners.
http://littleleadwarriors.blogspot.ca/2014/08/ruined-building-from-4ground.html