Thursday, October 14, 2010

Renegade Guard Question

I made an interesting discovery recently, after I converted my Wargames Factory Shock Troops to have heads from Victrix French Imperial Guard Grenadiers. You can see the results of that conversion here.

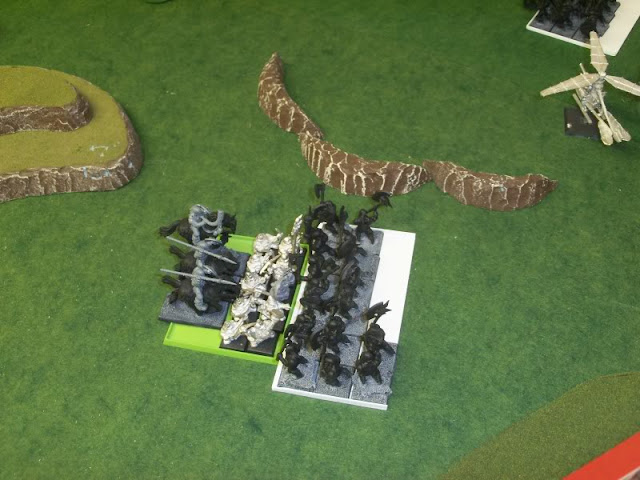
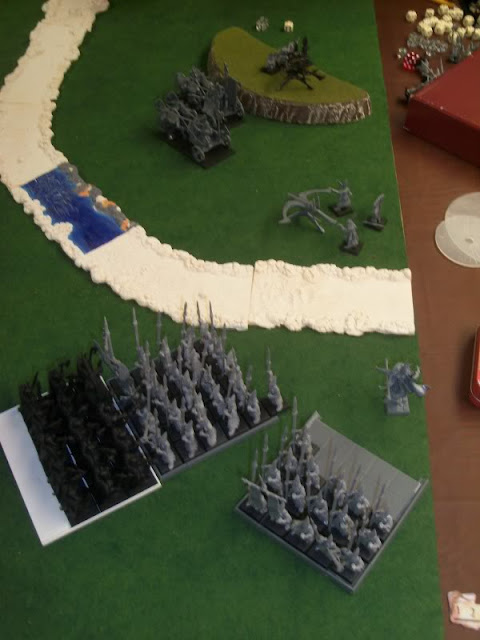
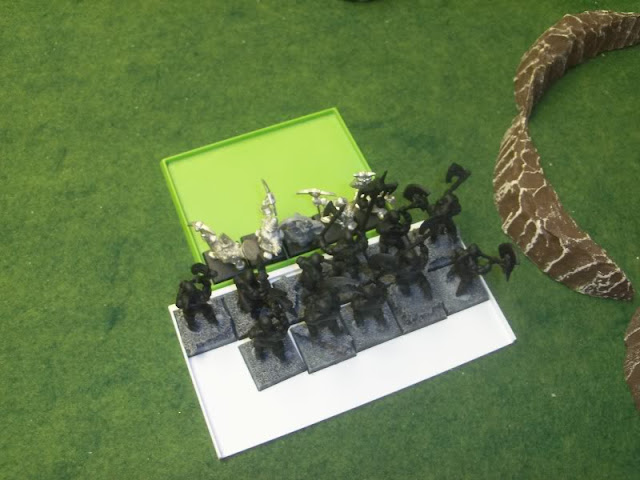
I discovered that the backpacks from the French Grenadiers fit almost perfectly on the Shock Troops. Here are some pictuers of a couple of my painted Shock Troops with the unpainted Victrix backpacks tacked on them.

Monday, October 11, 2010

Black Powder casualty markers

For a while I've been trying to come up with a good way to track casualties in Black Powder. I don't want to use dice or counters because I want something that won't detract from the look of the game, which is important. What I ended up doing was making bases the same size as my infantry bases, but with 4 figures on them. Between one and four of the figures was fleeing or wounded. This way I had bases to represent one, two, three, or four casualties. You can see some of them in my previous post on 10mm Confederate Infantry Casualty Bases.

There are a few problems with this system that make it impractical. First, it is inconvenient to have to switch out bases in a game as units take casualties and rally to remove them. Second, it isn't that easy to tell at a glance how many casualties a unit has, not to mention how easy it is to miss the base and forget to move it with the unit. Finally, it requires creating a huge number of bases, since theoretically for each unit I make I'd need three wound bases (since the standard stamina of a unit in Black Powder is 3).

I finally came up with another solution that I think will work much better. Initially I thought it would be nice to have round wound bases with a dial in them that can be rotated to show a different number of wounds. Unfortunately, I couldn't find dial bases anywhere that were thin enough to not look ridiculous next to my units on their thin metal bases.

Thursday, October 7, 2010

Warhammer Clash of Scouts Multiplayer Battle Report

Some members of my usual gaming group recently played in a three-way game of Warhammer Fantasy using the Clash of Scouts scenario I had devised. The game ended up being a lot of fun, and the multi-side rules worked out pretty well, though there were a few oddities having to do with the effects of spells that last a certain amount of time or that remain in play, such as Drain Magic. The changes do seem to make for a very different game where you have to play ahead a lot more, so it takes some getting used to, but it turned out fun.

The Dwarf player got first deployment choice, and the Warriors of Chaos player second. They chose long board edges. The High Elf player was left with one of the short board edges, and to add insult to injury, he didn't have a single unit that was allowed to deploy at the start of the game.

The one unit of Dwarfs with their general took up position with the buildings on one flank, and their gyrocopter to their other. Two fast-moving units of cavalry moved ahead in a pincer movement around both sides of the Dwarfs, Marauder Horsemen to their right and High Elf Reavers to their left.

Warhammer Clash of Scouts Warriors of Chaos, High Elves, and Dwarfs

The Dwarfs had wisely sent several small units of Miners to spread out, and they now converged on the developing battlefield from all directions. A unit of Dwarf Thunderers also arrived. At the same time, two large and imposing units of High Elf spearmen arrived along the river bank, as did an entire army of chaos, including a unit of Warriors, a unit of Knights led by their general, and two large units of Marauders. The Marauder Horsemen and High Elf Reavers continued their attempts to get around into the rear of the Dwarf General's unit.

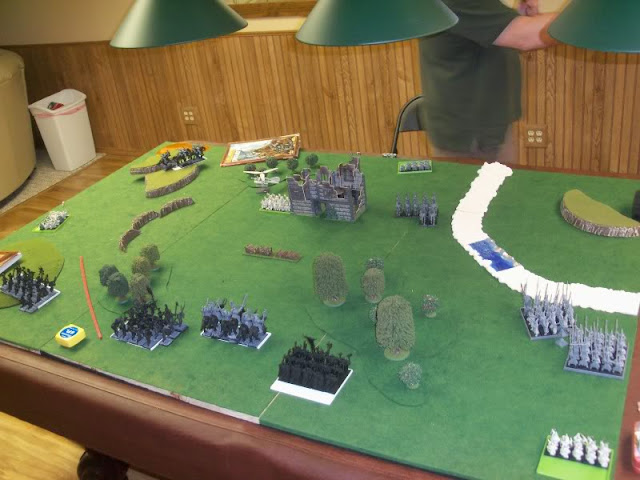
Warhammer Clash of Scouts Warriors of Chaos, High Elves, and Dwarfs

The Dwarfs mostly held their positions, and another unit of Thunderers arrived on the opposite side of the stream. The High Elf Reavers on the Dwarf's left flank attempted to charge the Thunderers in front of them, but the vicious closing fire from the Dwarf firearms panicked them and a subsequent volley all but wiped them out. The unit of Marauder Horsemen on the Dwarf right flank turned around to face the Miners led by a hero who had appeared behind them. The rest of the Chaos army, including a newly arrived unit of Khorne Knights, advanced in a wide arc. The two High Elf Spearman units held their positions and waited as reinforcements arrived in the form of two Bolt Throwers, a Chariot, and a level 2 Mage.

Warhammer Clash of Scouts Warriors of Chaos, High Elves, and Dwarfs

The Dwarfs again mostly held their positions, as they were dangerously spread out, though the Gyrocopter positioned itself to pepper an advancing unit of Marauders with lead. While the others cautiously held their positions, the impatient Warriors of Chaos sprung at their enemies. The Khorne Knights charged the flank of and Elf Spearman unit, but killed very few of the Elves. In the center, Marauders and Knights advanced on the Dwarf general, and the Chaos Sorcerer unleashed a horrifying curse on his bodyguards that caused them to slaughter each other. On the Chaos left flank, Marauder Horsemen and infantry managed to surround a unit of Miners led by a hero and charge them from both sides, but the stalwart Dwarfs fought back heroically and the combat was a stalemate.

Warhammer Clash of Scouts Warriors of Chaos, High Elves, and Dwarfs

In the center, the Marauders attempted to charge the Dwarf General and his few remaining bodyguard, but with their numbers depleted so greatly by foul sorcery, they chose to flee and the Marauders could not reach them. This set up a perfect shot from the Gyrocopter, whose gun scythed down an entire rank of the Marauders. The High Elves turned their attentions to the small unit of Thunderers that had been cautiously advancing toward them on the Dwarf left across the stream. The High Elves fired both of the Repeater Bolt Throwers at them as well as turning their chariot to face them, in a display of force seemingly disproportionate to the threat. The Chaos Warriors unit charged the front of the other unit of High Elf Spearmen and also didn't do much damage. At the same time, the Chaos Knights next to them lost all but one of their number, who wisely fled from the forest of Elf spear tips. On the other side of the battle, the Dwarf Miners finished off the Marauder Horsemen to their rear and fought ferociously against the Marauders to their front. Though they were down two just four miners and the hero, they had managed another draw.

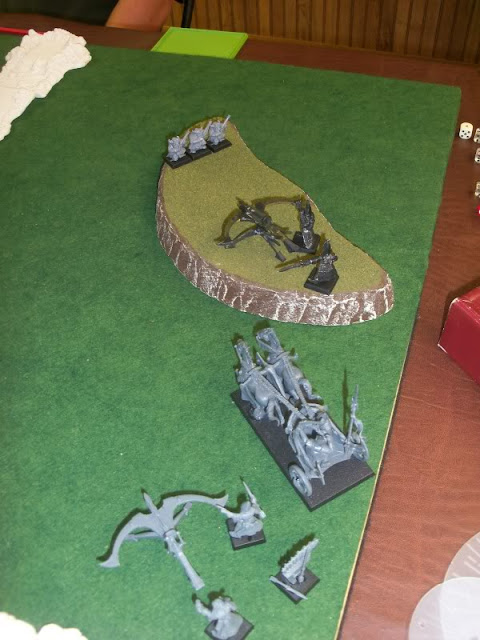
Warhammer Clash of Scouts Warriors of Chaos, High Elves, and Dwarfs

In the continuing combat, the Marauders cut down the remaining Miners with their brutally large great weapons, and only the lone Dwarf hero remained. On the Dwarf left across the stream, the three remaining Thunderers, thirsting to avenge their fallen comrades, charged the nearest High Elf Bolt Thrower. They killed one of the Elves, and the other fled, which panicked the nearby Chariot, which attempted to flee across the stream and in their careless haste wrecked their chariot on the rocky banks.

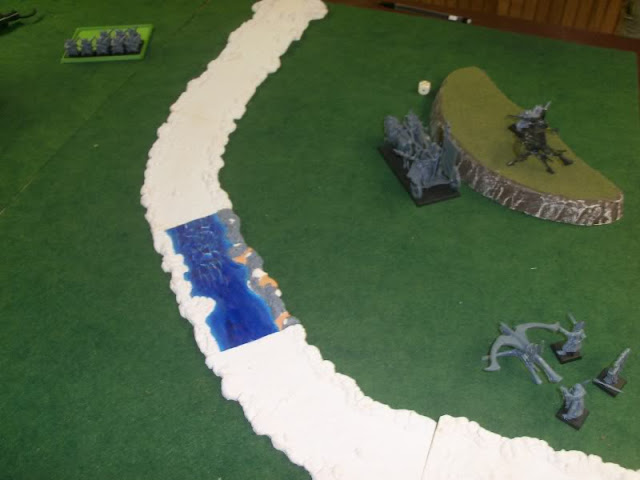
Warhammer Clash of Scouts Warriors of Chaos, High Elves, and Dwarfs

That turned out to be the final turn of the game. The Dwarfs barely held on for a victory, with one table section contested by the single hero in combat with the Marauders, and another by the two remaining Thunderers. But their tactic of having small units spread out all over the battlefield had paid off. Most of the Chaos army was broken or depleted, and the High Elves just didn't have much of a foothold on the battlefield. So the High Elves and Warriors of Chaos were forced to pull back and leave the field to the Dwarf scouts who, having driven off the enemy scouts, were free to search for the fabled treasure unmolested.

Monday, October 4, 2010

Clash of Scouts multiplayer Warhammer scenario

Inspired by all the great scenario and narrative gaming ideas in the Warhammer Fantasy 8th edition rulebook, I recently decided to run a small narrative multiplayer campaign. The story centered around rumors of a long lost treasure being found in the foothills of the Grey Mountains. Several armies are sent to search the area for this legendary treasure horde, and encounter each other while searching. We would play a series of two linked games. The first would represent the scout forces of the two armies encountering each other and attempting to drive off the enemy scouts. The second would be after the treasure was located, and would be an all out battle to control the cave containing the treasure.

Below are the rules I used for the first of the two games, representing the clash of the scouting forces. It could work for up to five armies, but we played it with three and it went really well.

The Armies
Each player selects a 1500 point scout force. No lords may be taken. Each player must indicate on his army roster which unit each character will start the battle in, or if they will be on their own. If this is not clearly indicated on the army roster, the characters will not show up for the battle at all.

The Battlefield
I will set up the battlefield. It will represent an area in the foothills of the Grey Mountains where the scout forces are searching for evidence of a rumored hidden treasure. Rumor has it a great treasure horde was discovered by a group of prospectors out panning for gold.

Deployment
Deploy as in the Battle Royale scenario in the rulebook (page 406), except that there will only be an army deploying in the middle if there are 5 players. Also, units can’t be deployed within 12” of a table edge that is not their own. If there is no player in the middle of the table, then armies deployed on the short table edges can deploy 12” on instead of 6”.

To summarize the Battle Royale deployment rules: Each player rolls a die (roll off ties). The person with the lowest score sets up his entire army in a 16”x24” section in the middle of the table. Then go in descending order with each person picking a free table edge and deploying their army (except for anything they choose to keep in reserve) within 6” of their table edge and more than 10” away from an enemy unit. As noted above, I’ve made some changes to this.

First Turn
The players move in the order in which they were deployed. The game will use the turn sequence from the Battle Royale scenario in the rulebook. To summarize: In the movement phase each player completes all their movement in turn. Then there is a combined magic phase. The player who went first rolls 2D6 for the Winds of Magic, and all players use that roll for magic and dispel dice. (you should all bring at least two different colors of dice with so that you can have your magic and dispel dice in front of you, since it will save a lot of time if it is completely clear how many power and dispel dice everyone has left) In the shooting phase, again each player in turn does all of their shooting. Then there is a single close combat phase where everyone fights.

Game Length
The game will last 6 turns. At the end of turn 6, roll a D6. On 4+ there is a Turn 7. At the end of Turn 7, roll a D6. On a 5+ there is a turn 8, which will be the last turn.

Victory Conditions
The objective is to take the field and drive off the enemy scouts. Each player receives one victory point for controlling a table section (for each 2’x2’ section), and half a point for contesting a section. You also receive one victory point for your general surviving the battle. Any units that have not been destroyed or fled off the table at the end of the game will be added to your army in the following game.

Reward
The winner of this game will have first choice of deployment zone in the following game, and will also have some other deployment bonuses. If the game is really close, I might also give something to the second place player, so it is worthwhile to try to do well even if you can’t win. And keep in mind that any enemy units you destroy will keep your enemy from having them in the next game.

Secret Rules
Only the following types of units will deploy at the start of the game: fast cavalry, skirmishers, flyers (non-monster), warbeasts, and scouts. Starting on turn 2, the following units can arrive as reserves on the roll of 3+: infantry, cavalry, monstrous infantry/cavalry, and swarms. The following units can arrive as reserves on the roll of 4+ starting on turn 3: war machines, monsters, chariots. Any characters assigned to units will arrive with the unit. Any characters not in a unit arrive as regular infantry.

The buildings on the table represent the shacks of the prospectors, and are haunted by their ghosts. If a unit is occupying the buildings and is not fighting in combat in the close combat phase, they will be attacked by one base of Spirit Hosts. A unit that survives the game after being attacked by the ghosts will know about the dragon protecting the treasure horde in the next game.

The winner will be allowed to deploy his survivors at the start of the following game, regardless of which deployment option he chooses. The winner will also know which deployment option each of his enemies has chosen before he chooses his own. A second place player will know which deployment option the last place player has chosen before choosing his own.

Thursday, September 30, 2010

Painted Renegade Imperial Guard Infantry Unit

I've finished painting up my first unit of Renegade Imperial Guard, which I've converted from some Wargames Factory Shock Troops with Victrix French Old Guard Grenadier heads. Take a look at the results, and let me know what you think.

Monday, September 13, 2010

Painted Termagants with Fleshborers and Stranglewebs

I recently finished painting another small batch of Tyranid Termagants. This batch includes the three Termagants I converted to have Stranglewebs. Let me know what you think about how they turned out.

Saturday, September 11, 2010

Renegade Imperial Guard Paint Test 2

I've been trying to figure out a simple but effective paint scheme for my Renegade Imperial Guard army. You can see my first attempt in the recent post Renegade Imperial Guard Paint Test.

I've made a few changes to my scheme, and here are some pictures of the results.
The figure on the left was the original one, which I made some changes to. I repainted the armor silver and the cuffs and trim pink, since I thought the black wash made them too dark. I also drybrushed the hat, but I think it started out too light. I also painted the stripes on the shoulder armor white.

The figure on the right, I used mostly the same base colors but washed with Devlan Mud instead of Black wash, except for the gun and gloves which I still used black wash on. The hat I painted black and used a dark grey drybrush, but now I'm thinking I should use a lighter grey drybrush. I also tried out a purple for the stripe on the shoulder pad.

Overall, I like the figure on the right better, as it is not as dark in general. I'm not sure I like the brown tint on the armor, but I'm not sure how to get definition in the armor without making it too dark or adding too many steps. I've already added a second color of wash and a drybrush step. Also, I'm not sure which color of shoulder stripe I like.

So, let me know what you think. What color should I make the shoulder stripe? How can I get a better look to the armor without it being too dark? Any other suggestions?